Mini’s Science Corner: Exciting Flower & Food Dye Experiment for Kids
Welcome to mini’s science corner! Have you ever heard someone say “that plant is thirsty” when the leaves and petals begin to look wilted? In this experiment, we’ll take a closer look at how a plant “drinks” water by dying water with food colouring for white cut flowers to absorb. Teach your kids about some of the interesting science behind plants, and maybe learn a thing or two for yourself!
Cut Flower & Food Dye Experiment
This experiment is designed to show how plants absorb water. A white flower is placed into a vase of coloured water. After about a day, you will notice the white flower petals beginning to take on the colour of the food colouring. This shows the path the water has gone inside the stem of the plant. We're able to see the change of colour this because the food dye is made up of tiny molecules that are small enough to travel along the capillaries of the plant along with the water.
You Will Need:
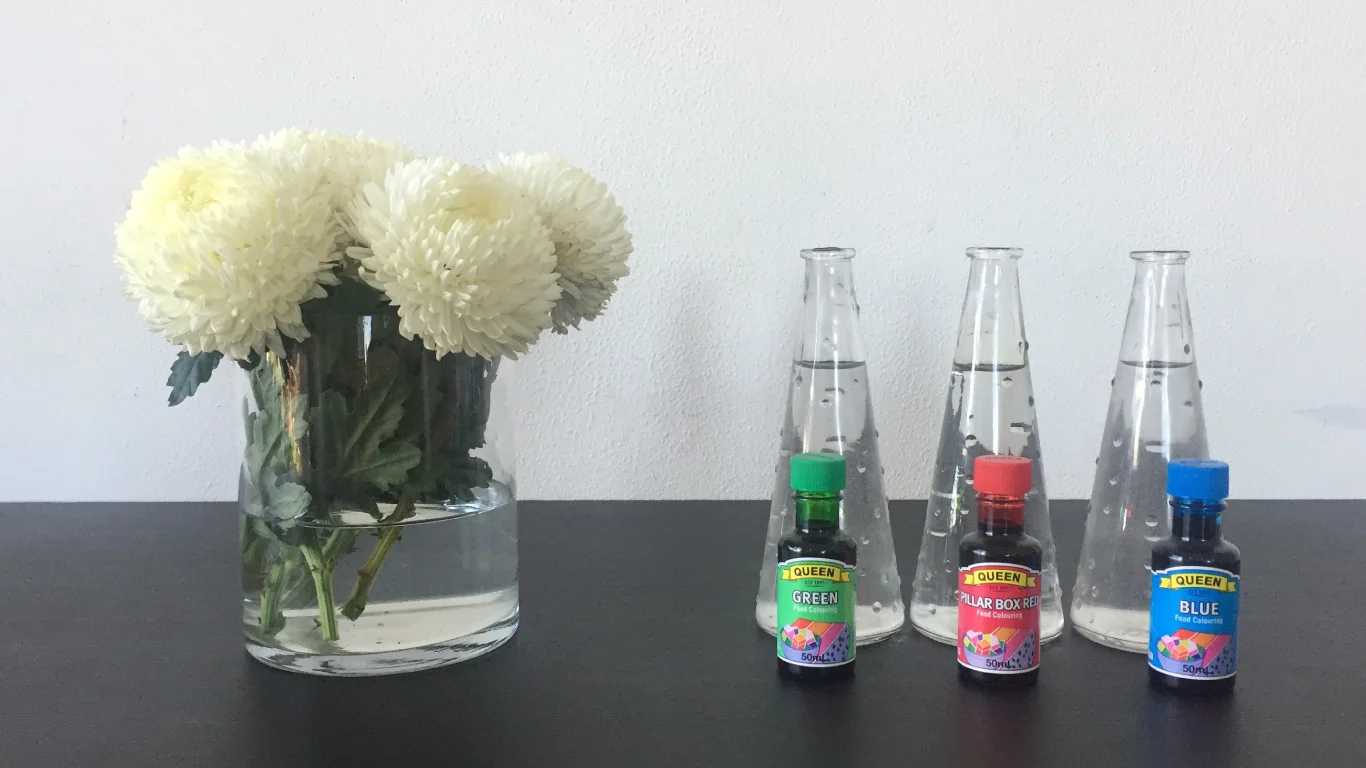
Cut white flowers (roses and hydrangeas work very well for this but other species will work as well we used white chrysanthemums and a rose )
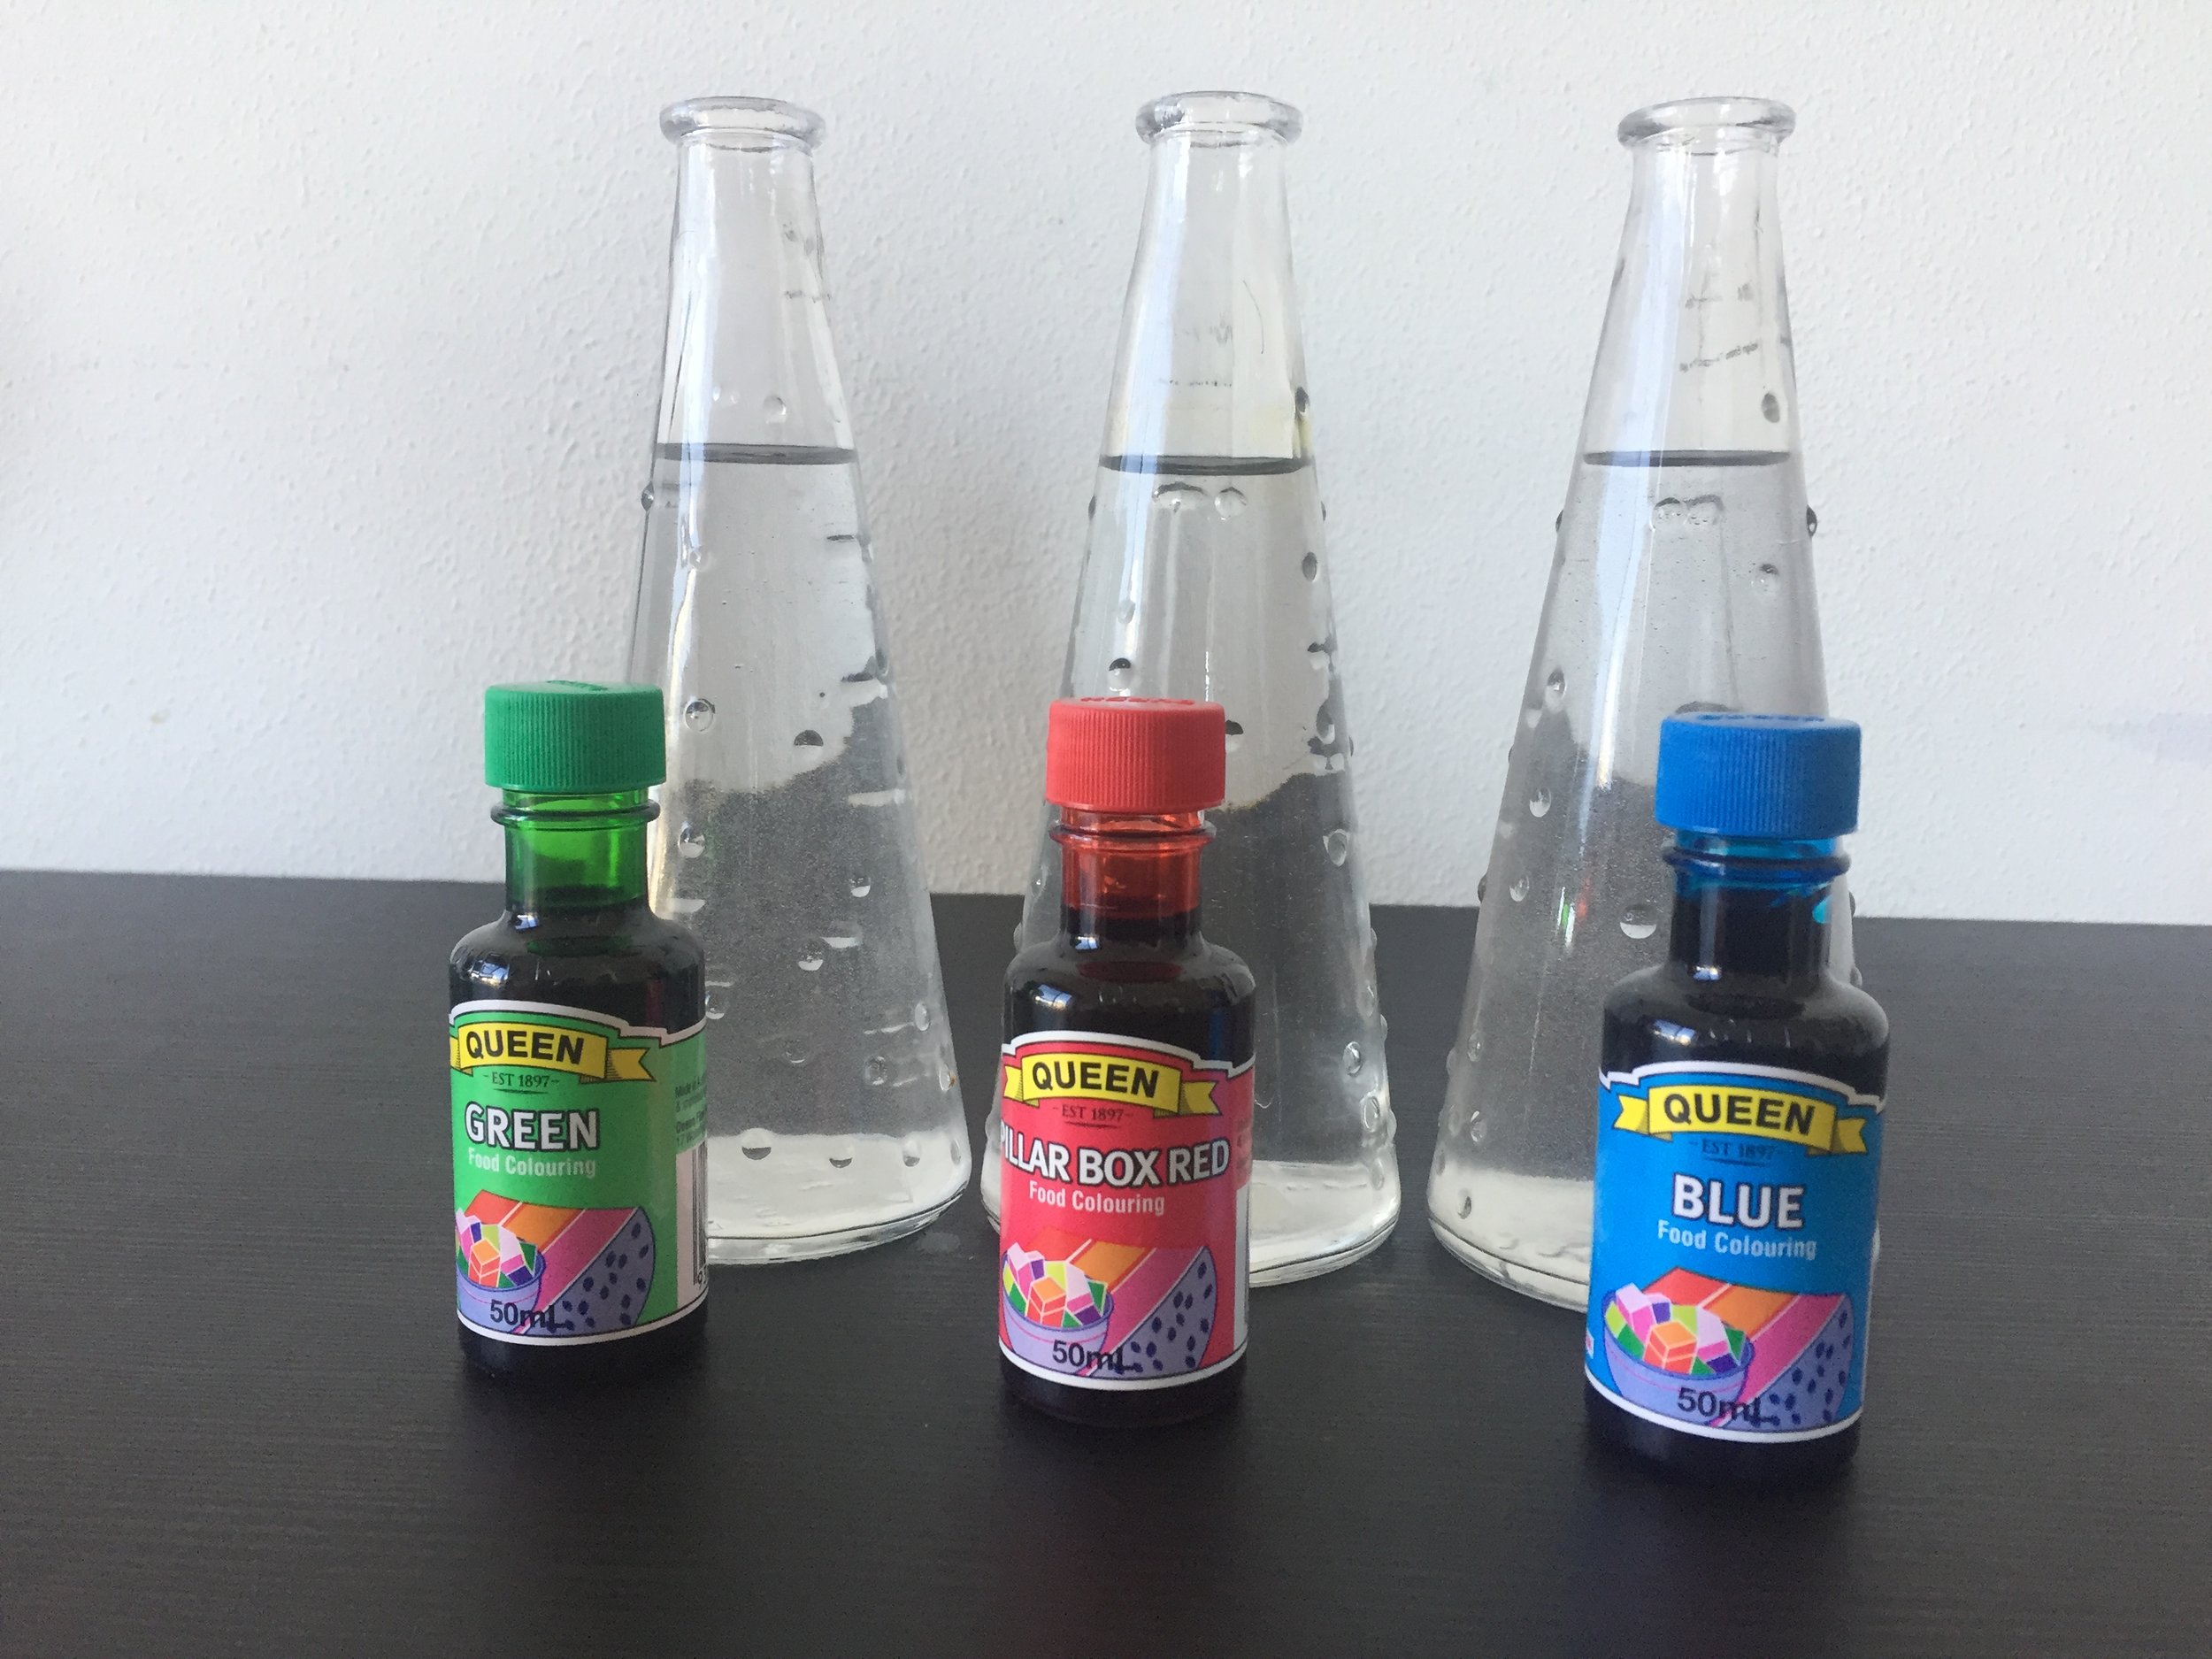
Some glass vases
Water
Food coloring (try doing a few experiments with different colours)
How To Set It Up
This is an incredibly easy experiment to set up. Your kids can even do most of it themselves (you will likely need to do the food colouring step and cutting of the flower stems depending on the age of your child, use your discretion).
Step 1: Prepare the food colouring
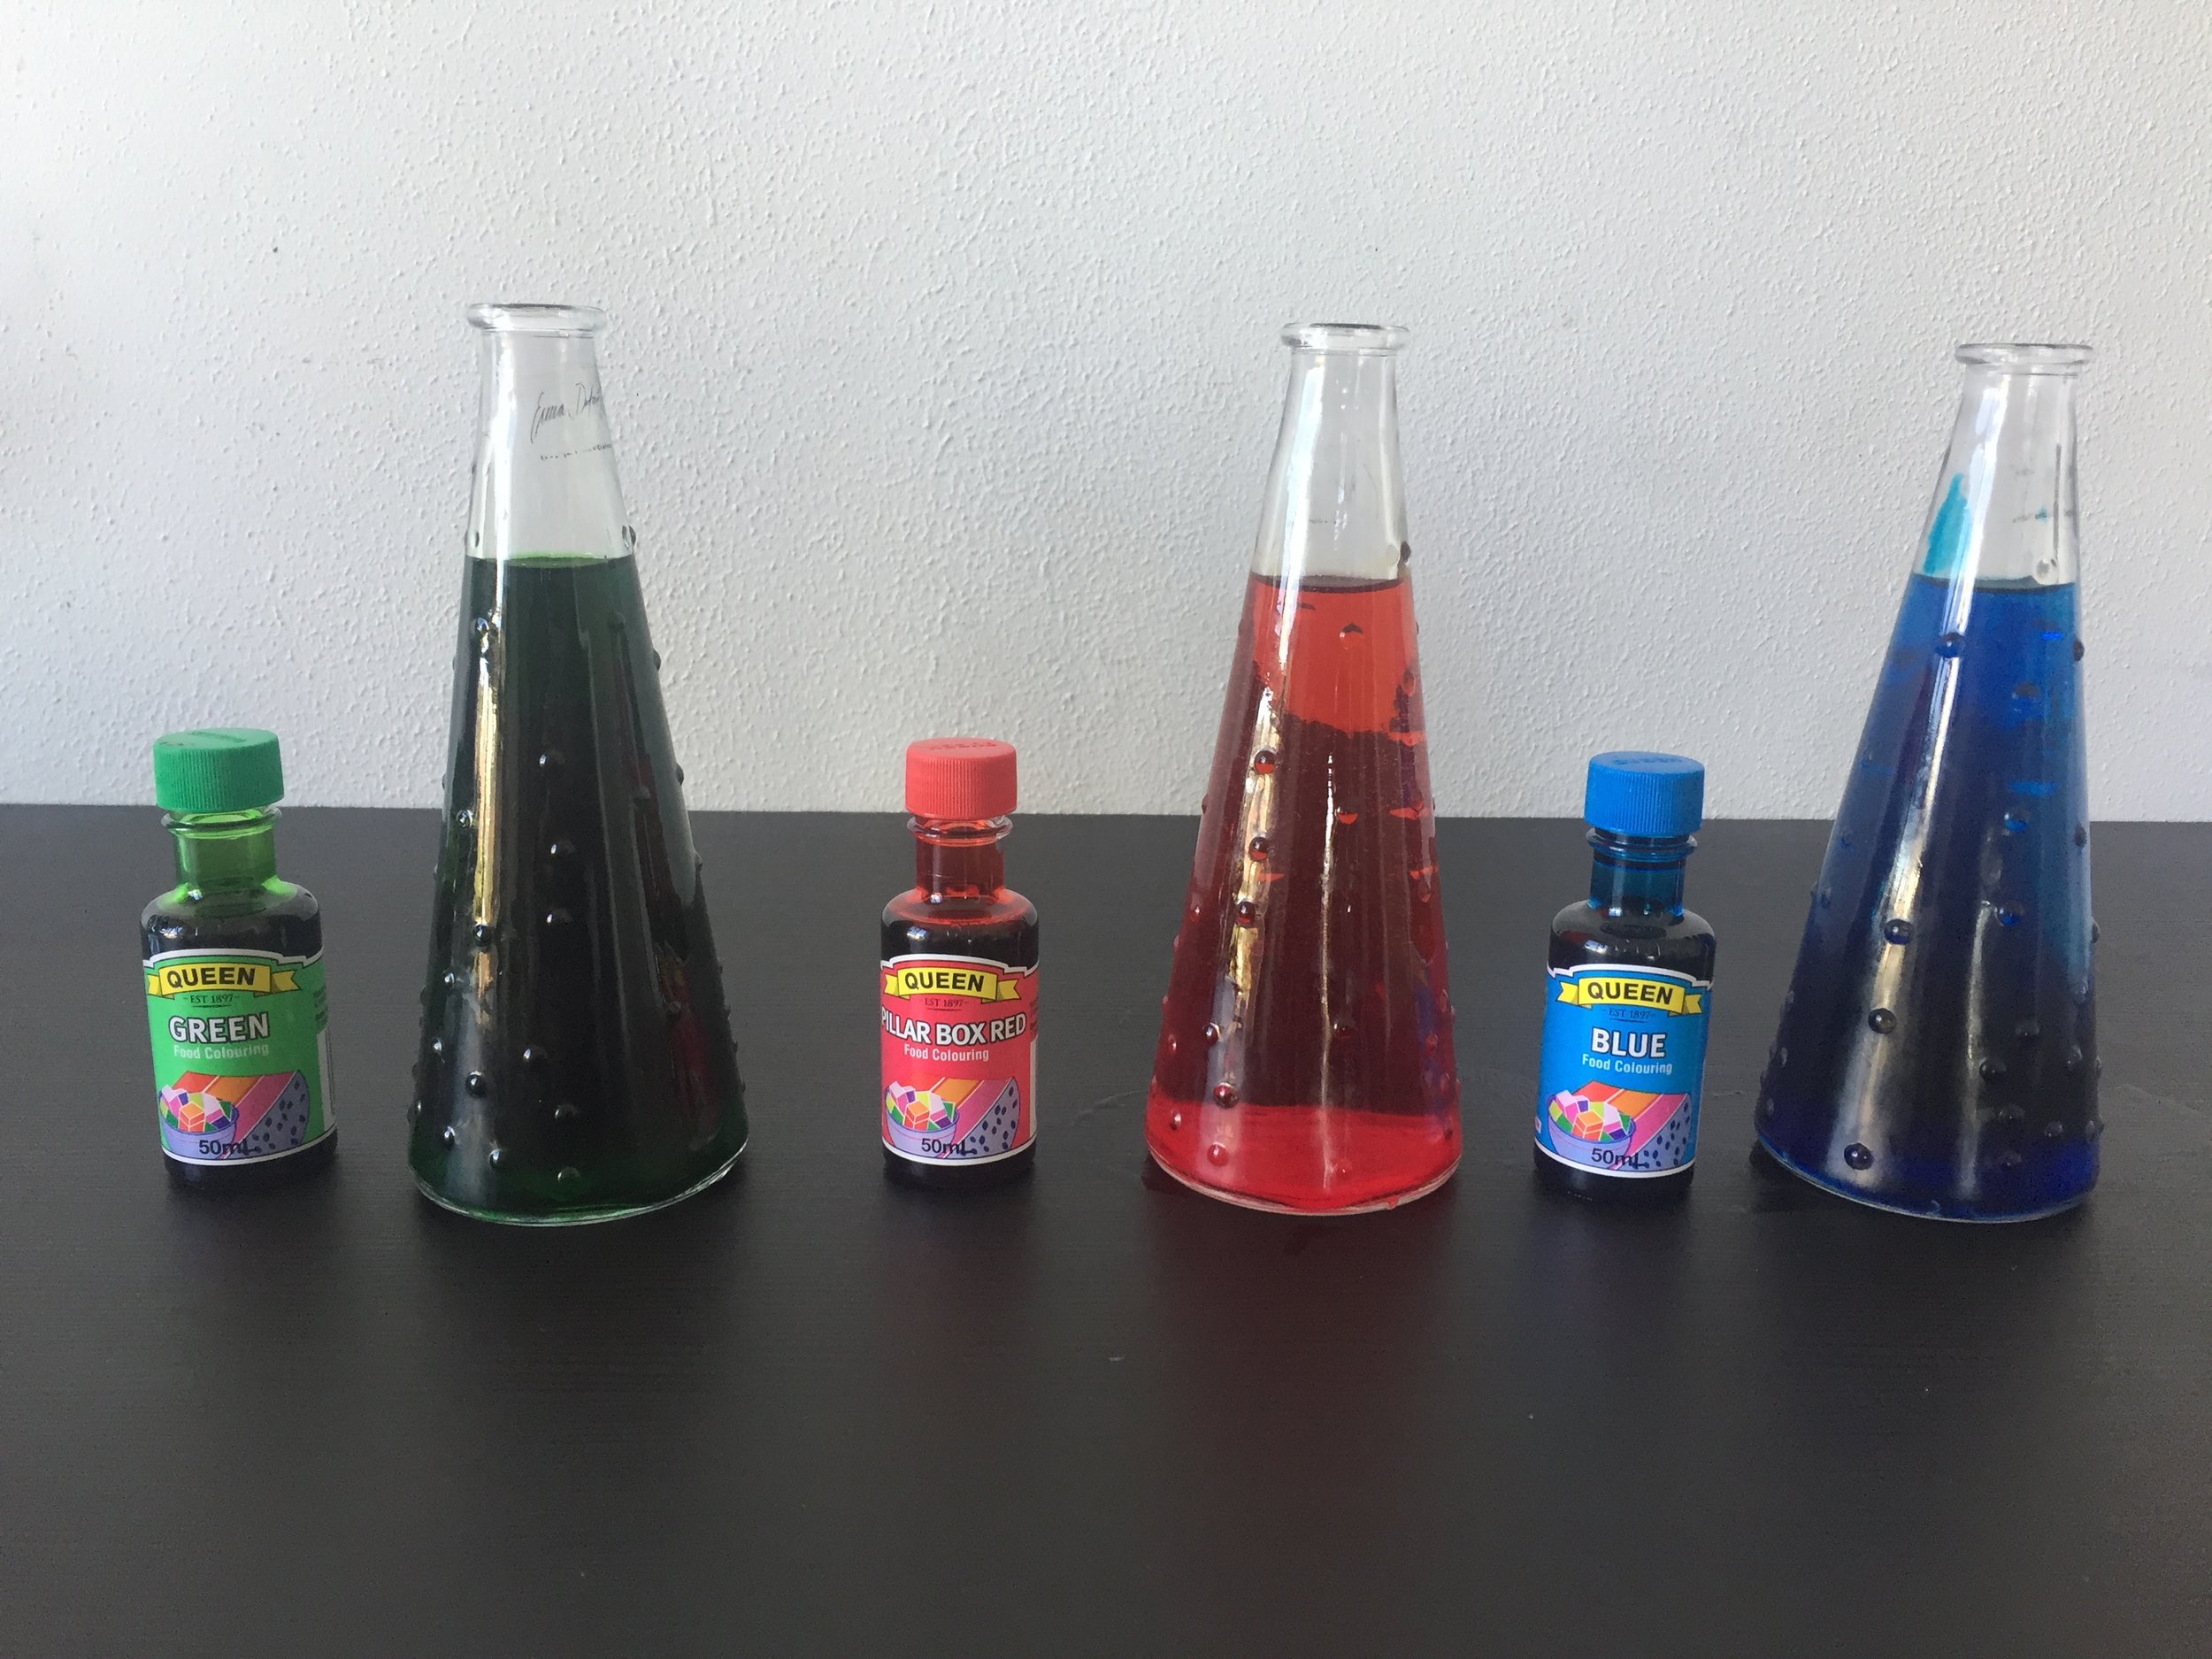
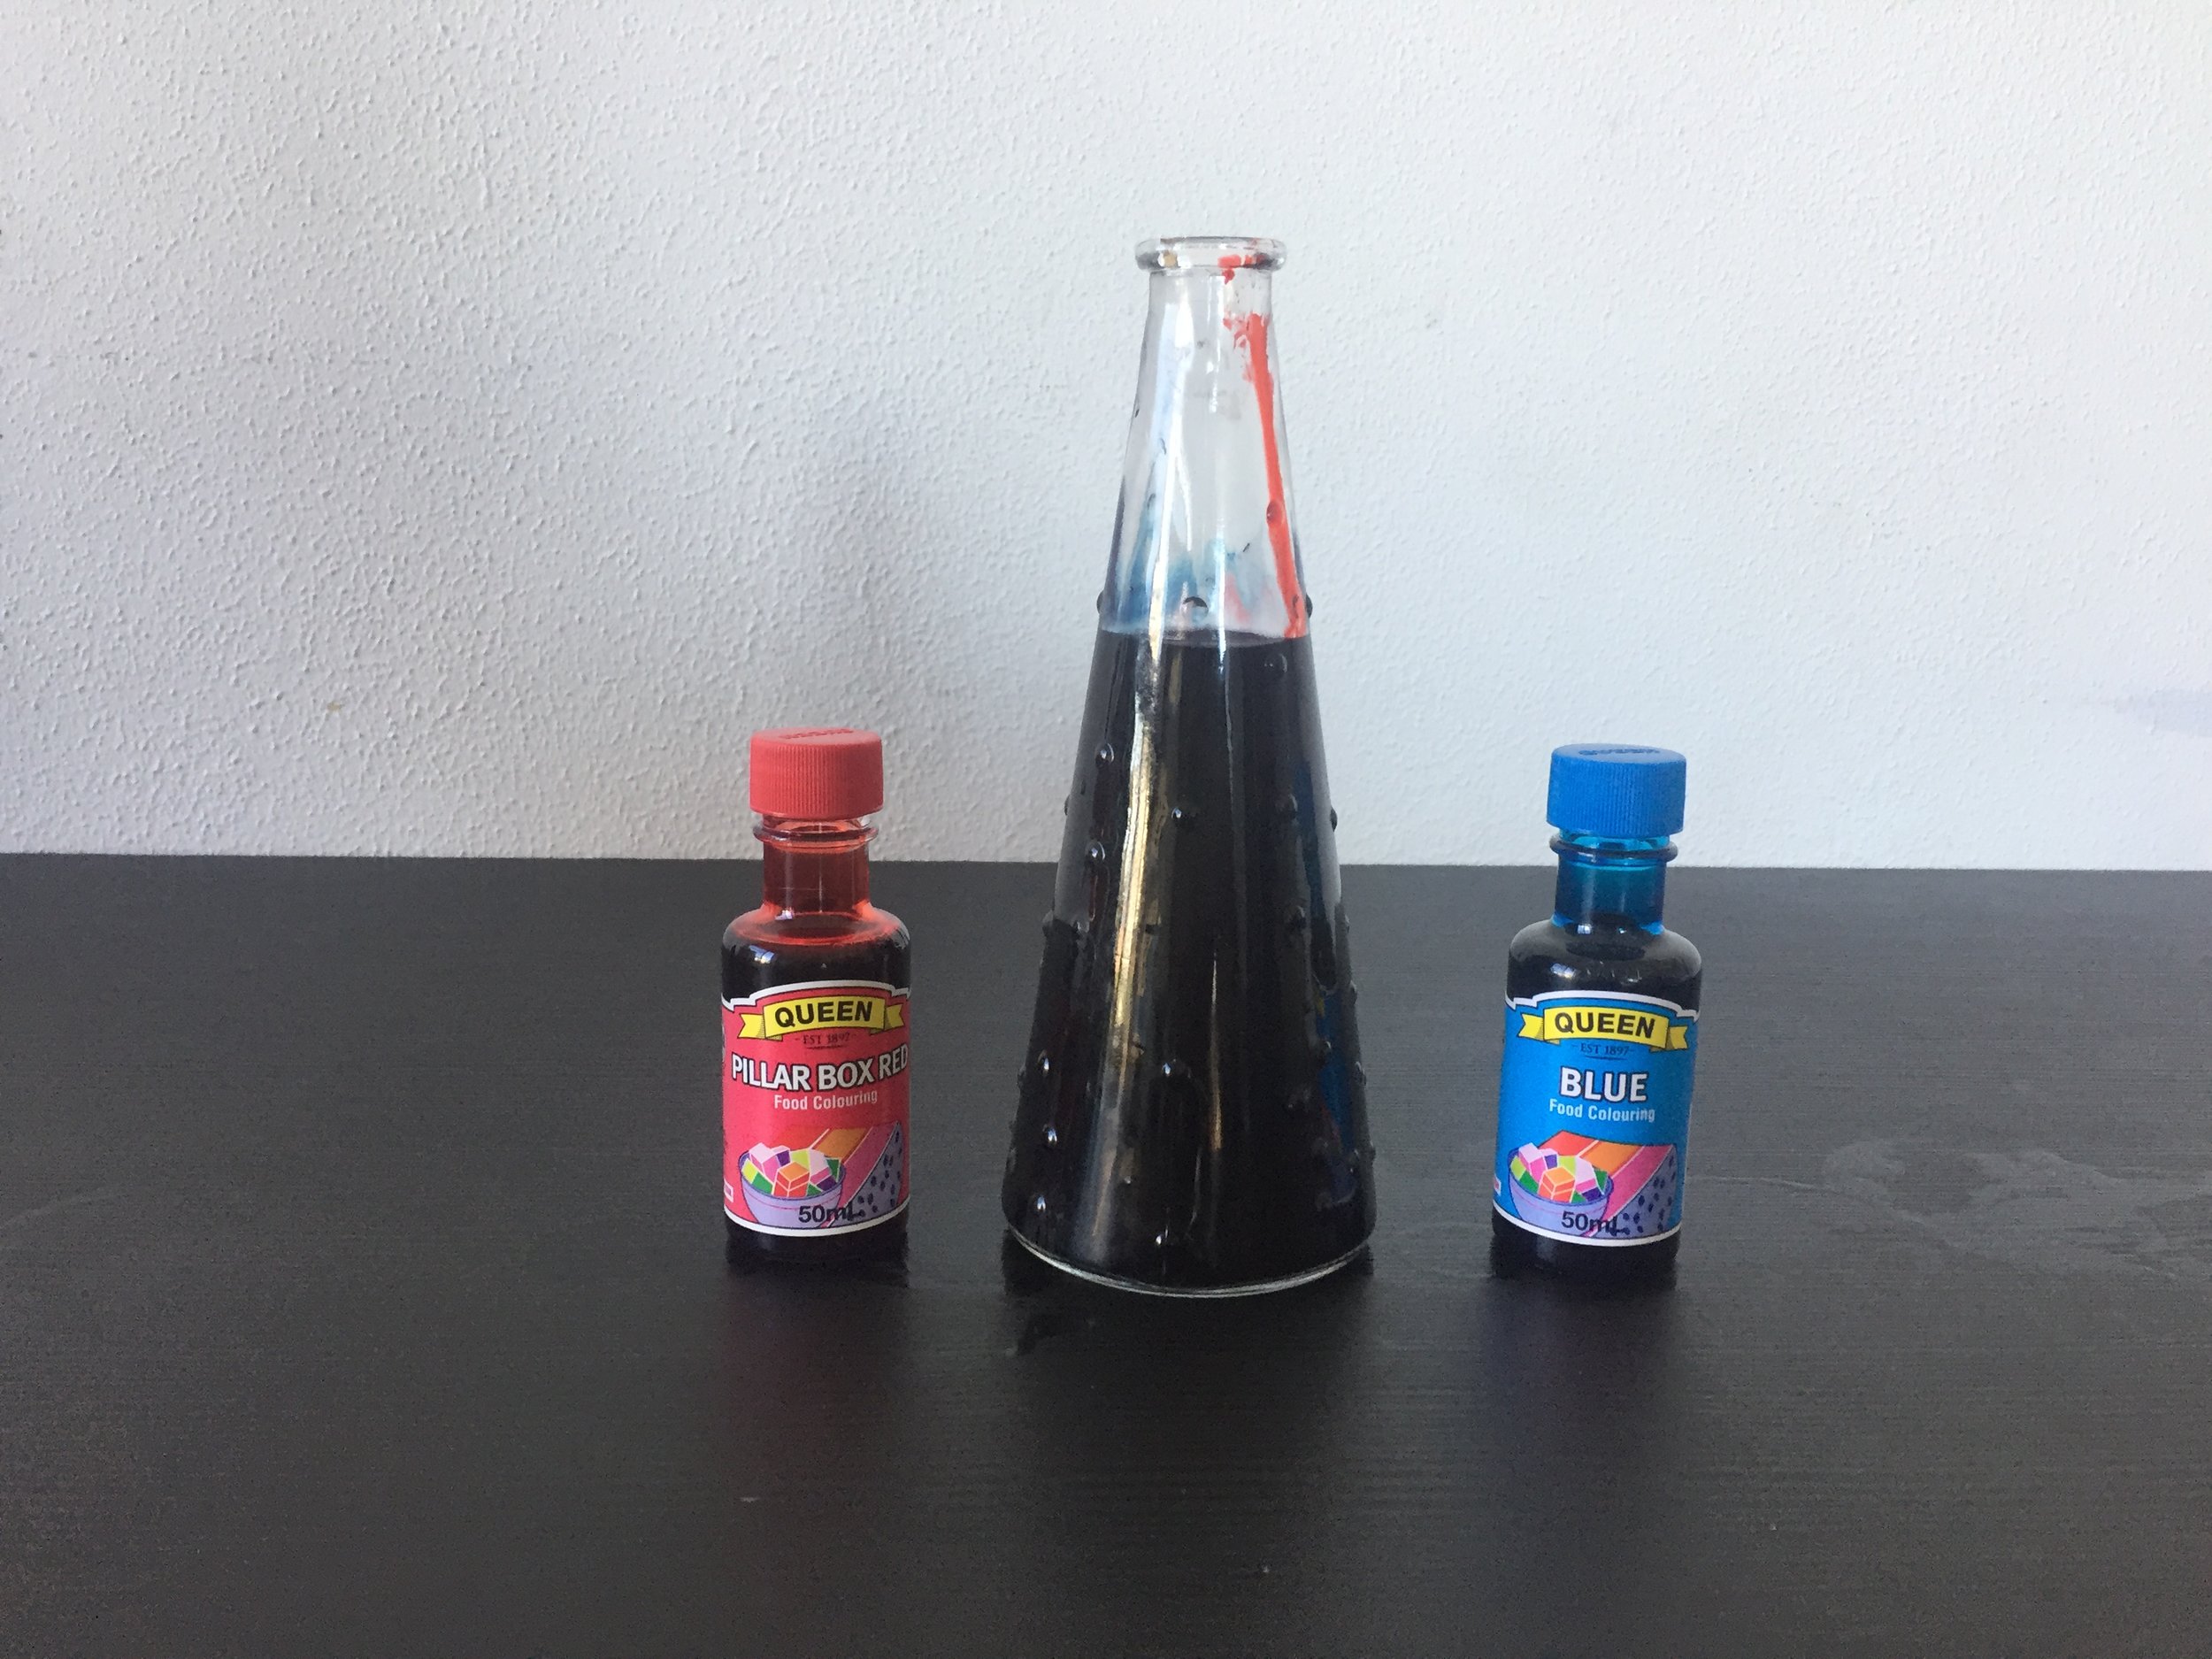
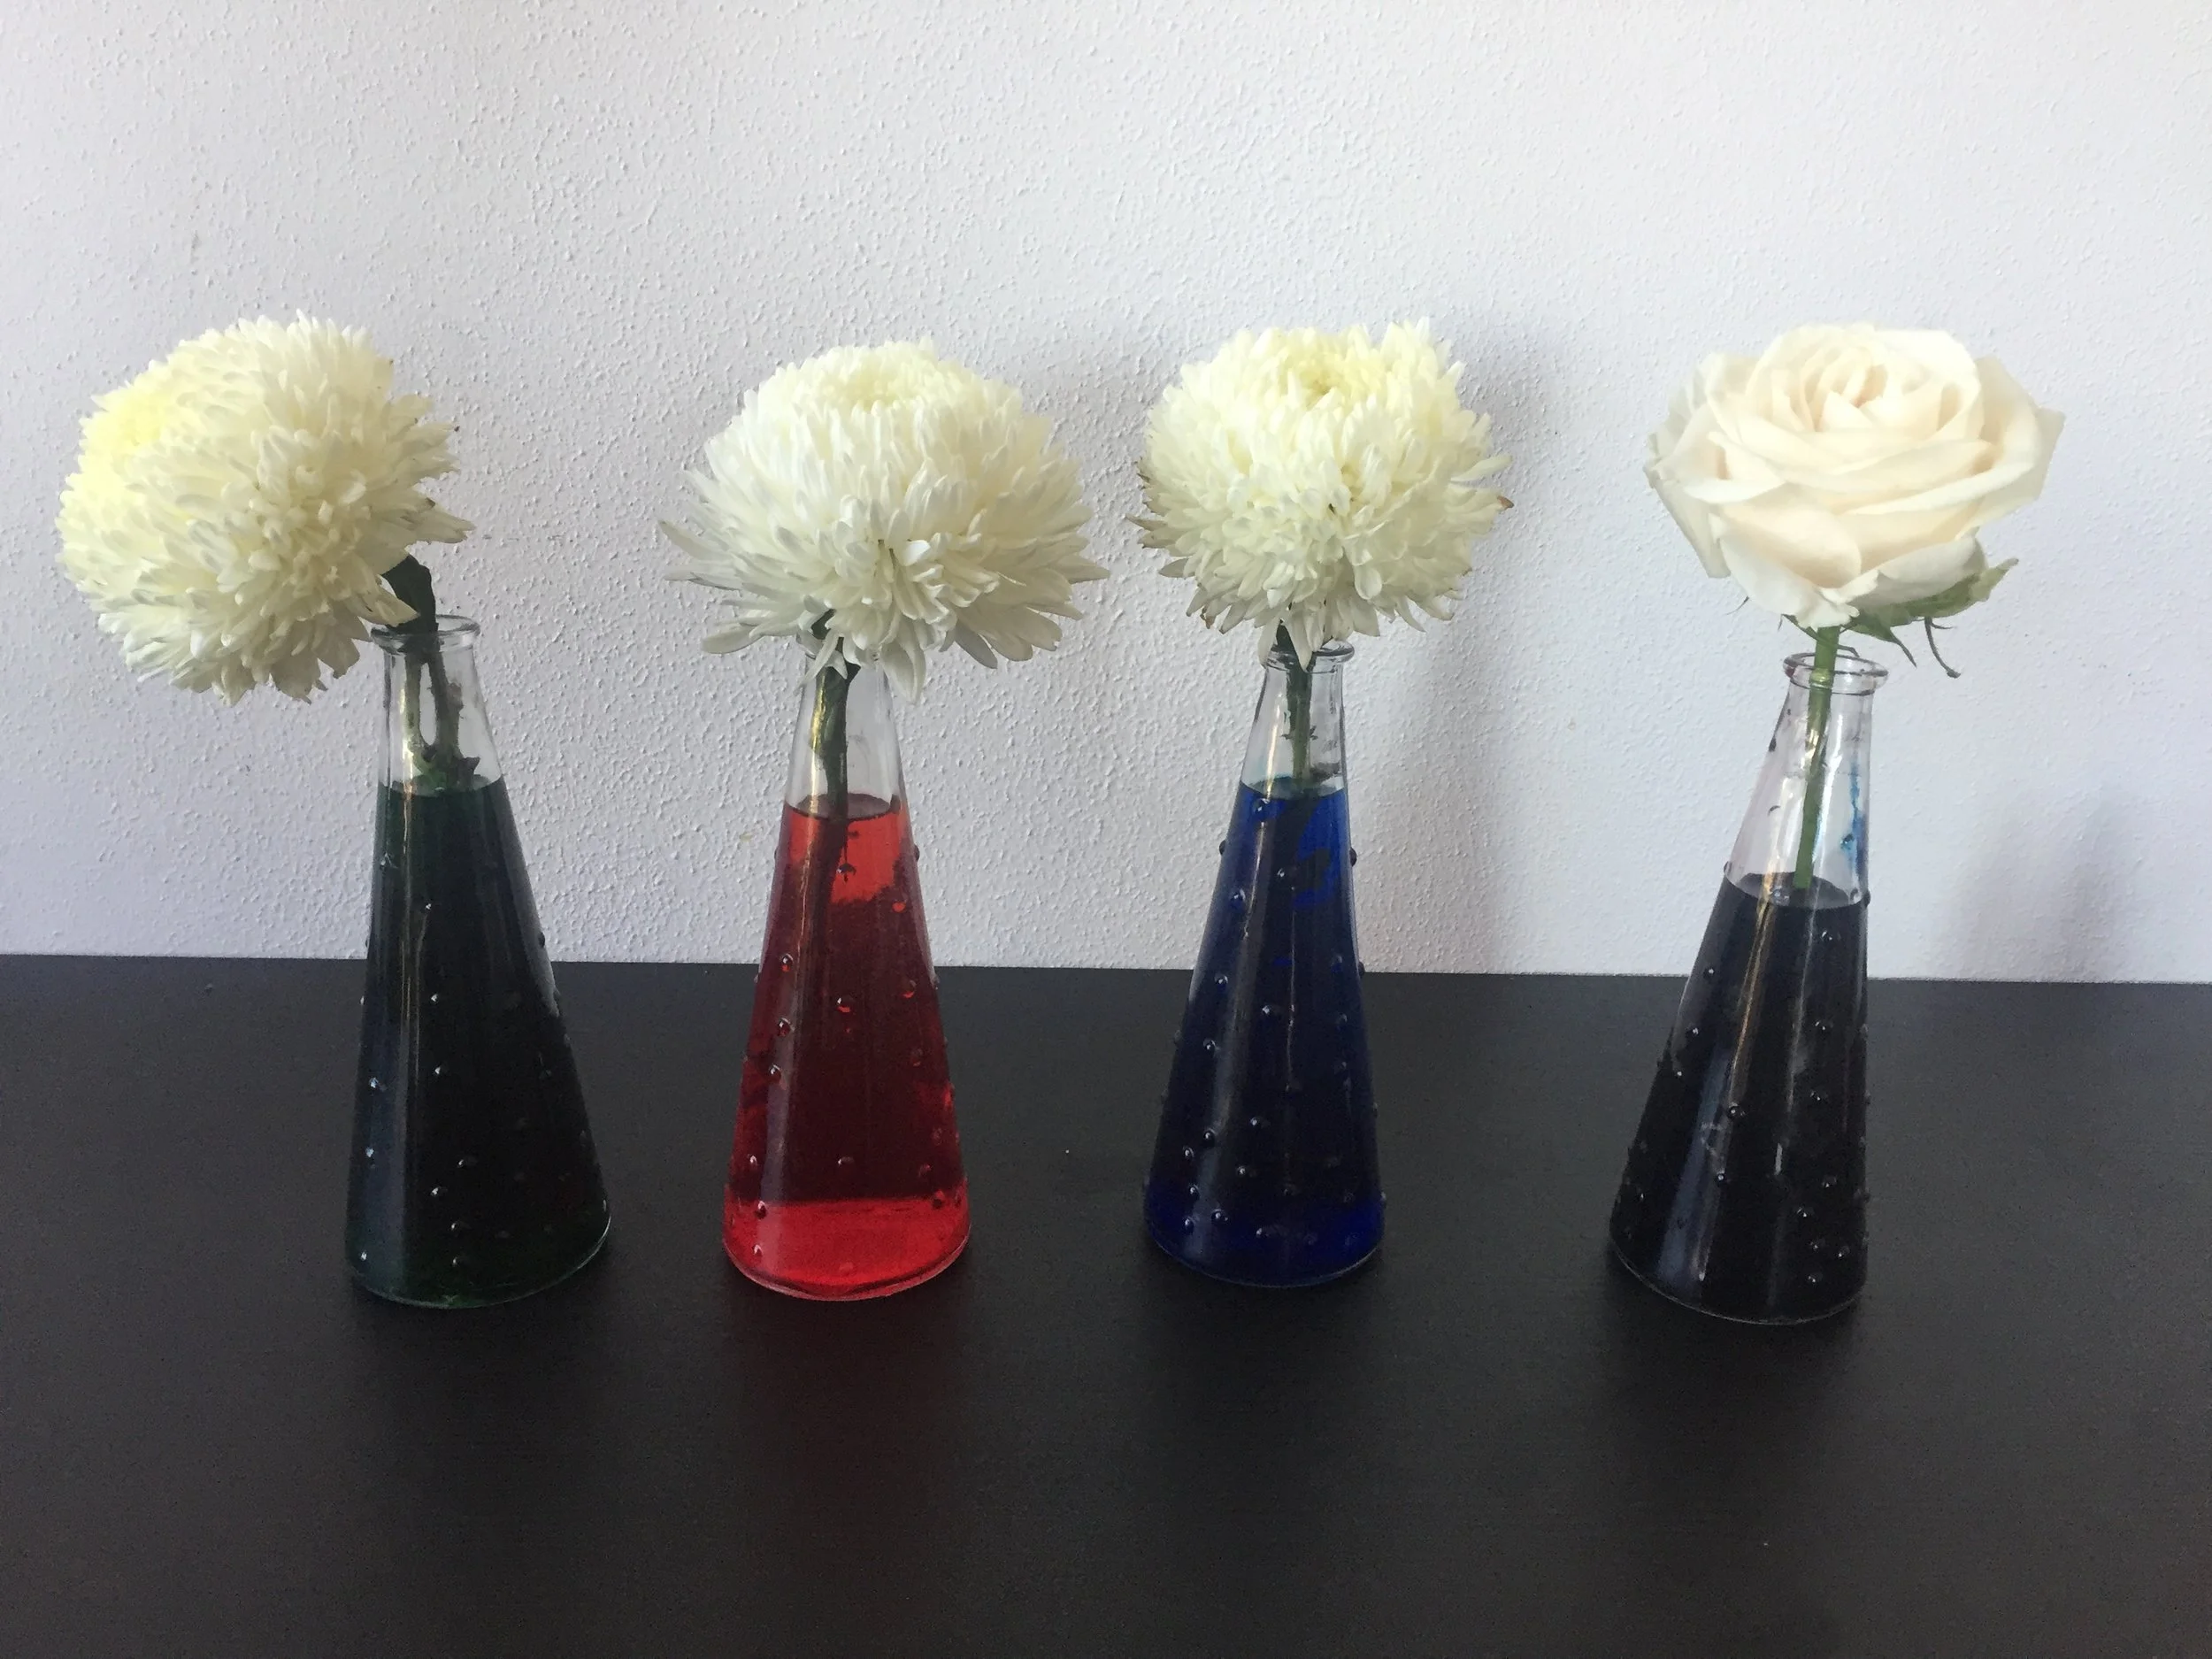
To do this you simply add warm water into the vase you are using, and add 20-30 drops of food colouring. Warm water is much easier for the plant to absorb, but perhaps try one vase with cooler temperature water and another with warm water to observe the results. We have chosen to do 4 different vases with 4 different colours for our experiment.
We mixed one part red dye and another blue to create a purple!
Step 2: Prepare your flowers
You can buy white flowers from any flower shop or sometimes cafe. If you are lucky enough to have some growing in your garden, you can use those as well. Almost any white flower will do, but they do need to be white or you won’t notice the colour change. We had chrysanthemums and roses on hand and wanted to see which flower absorbed the colour better.
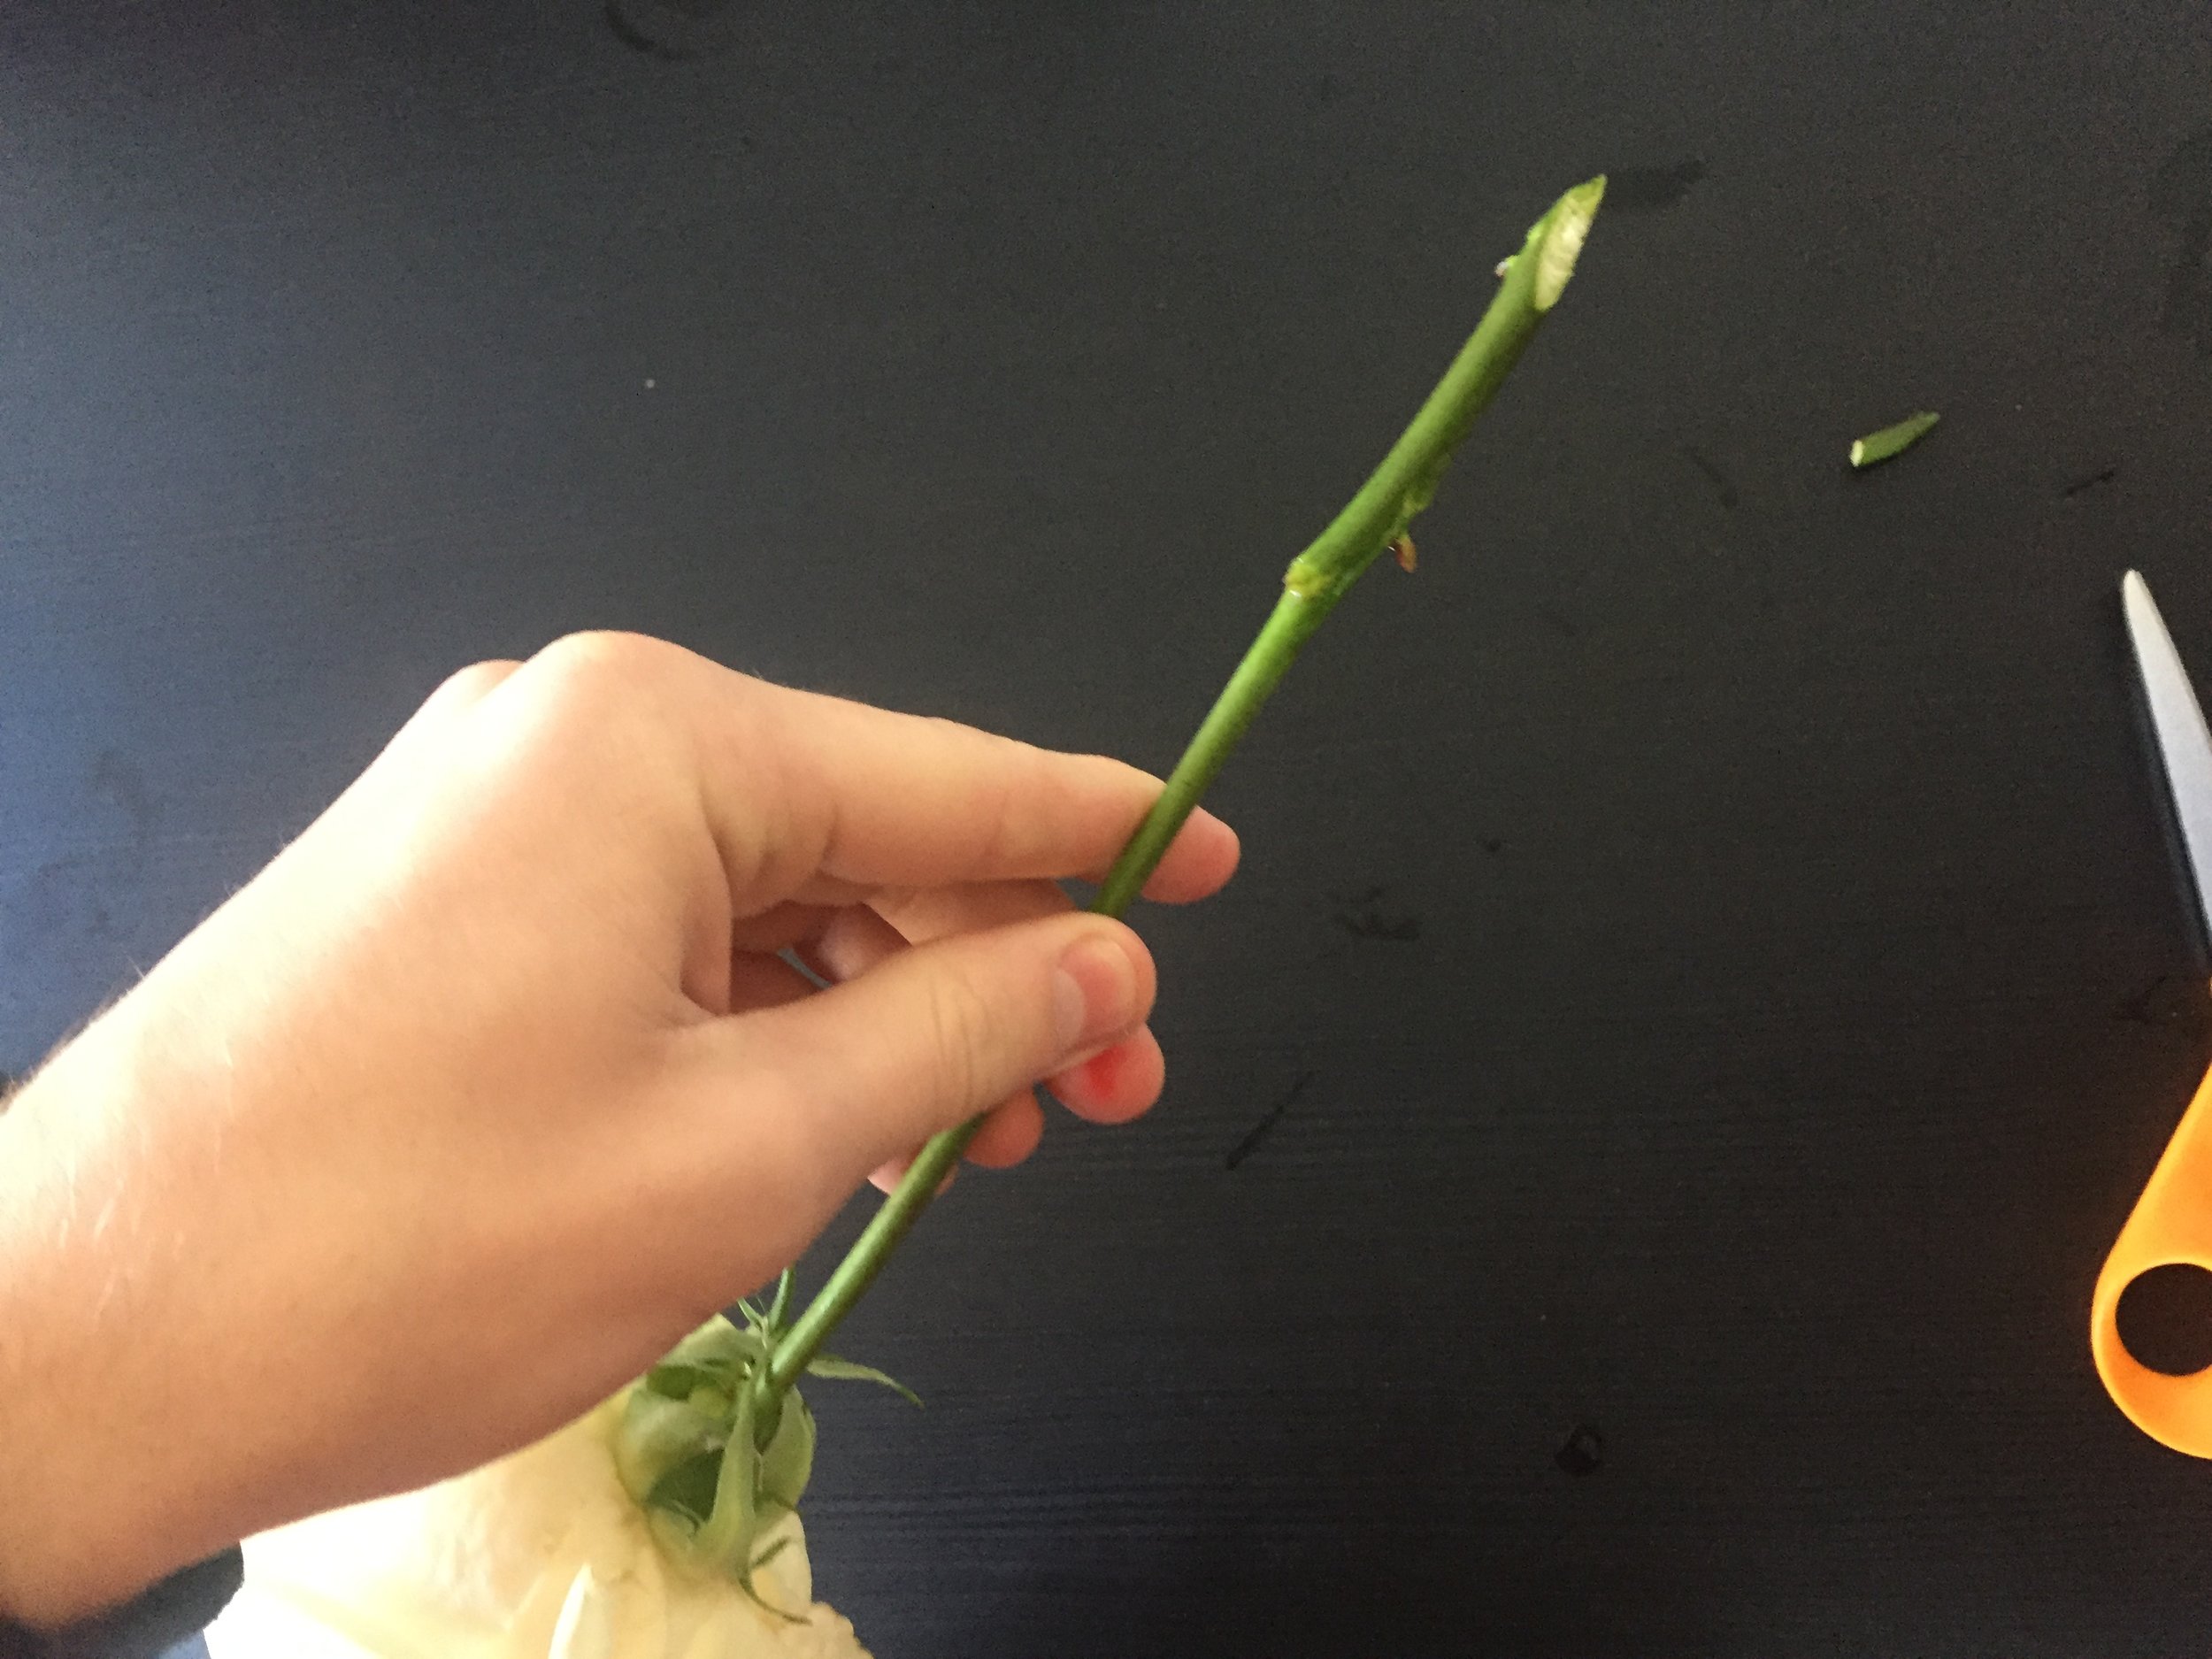
Cut the flower stems so that they fit comfortably in the vase. Cutting the stems at a 45 degree angle will increase the absorption of water and make your petal change faster. This also ensures that the base of the stem is not sitting flush with the bottom of the vase, giving it room to take in water.
Take a look at the stem. Is it dense and fibrous or does it look more like a straw? Stems act like the plant’s plumbing system, conducting water and nutrients from the roots and food in the form of glucose (simple sugar) from the leaves to other plant parts.
Step 3: Place the flowers into the vase(s), wait, and observe!
We placed the rose in our home-made purple mixture.
Once the flowers are in the vase, the next step is simply to wait. It takes time for the plants to take the water up the stems and place them into the petals.
Observe and make notes like a scientist!
How long did it take for the flower to start changing colour?
Which colour seemed to have the best result in dying the petals?
Which type of flower had the best result in changing colour?
What does the flowers' change in appearance tell you about how water moves through them?
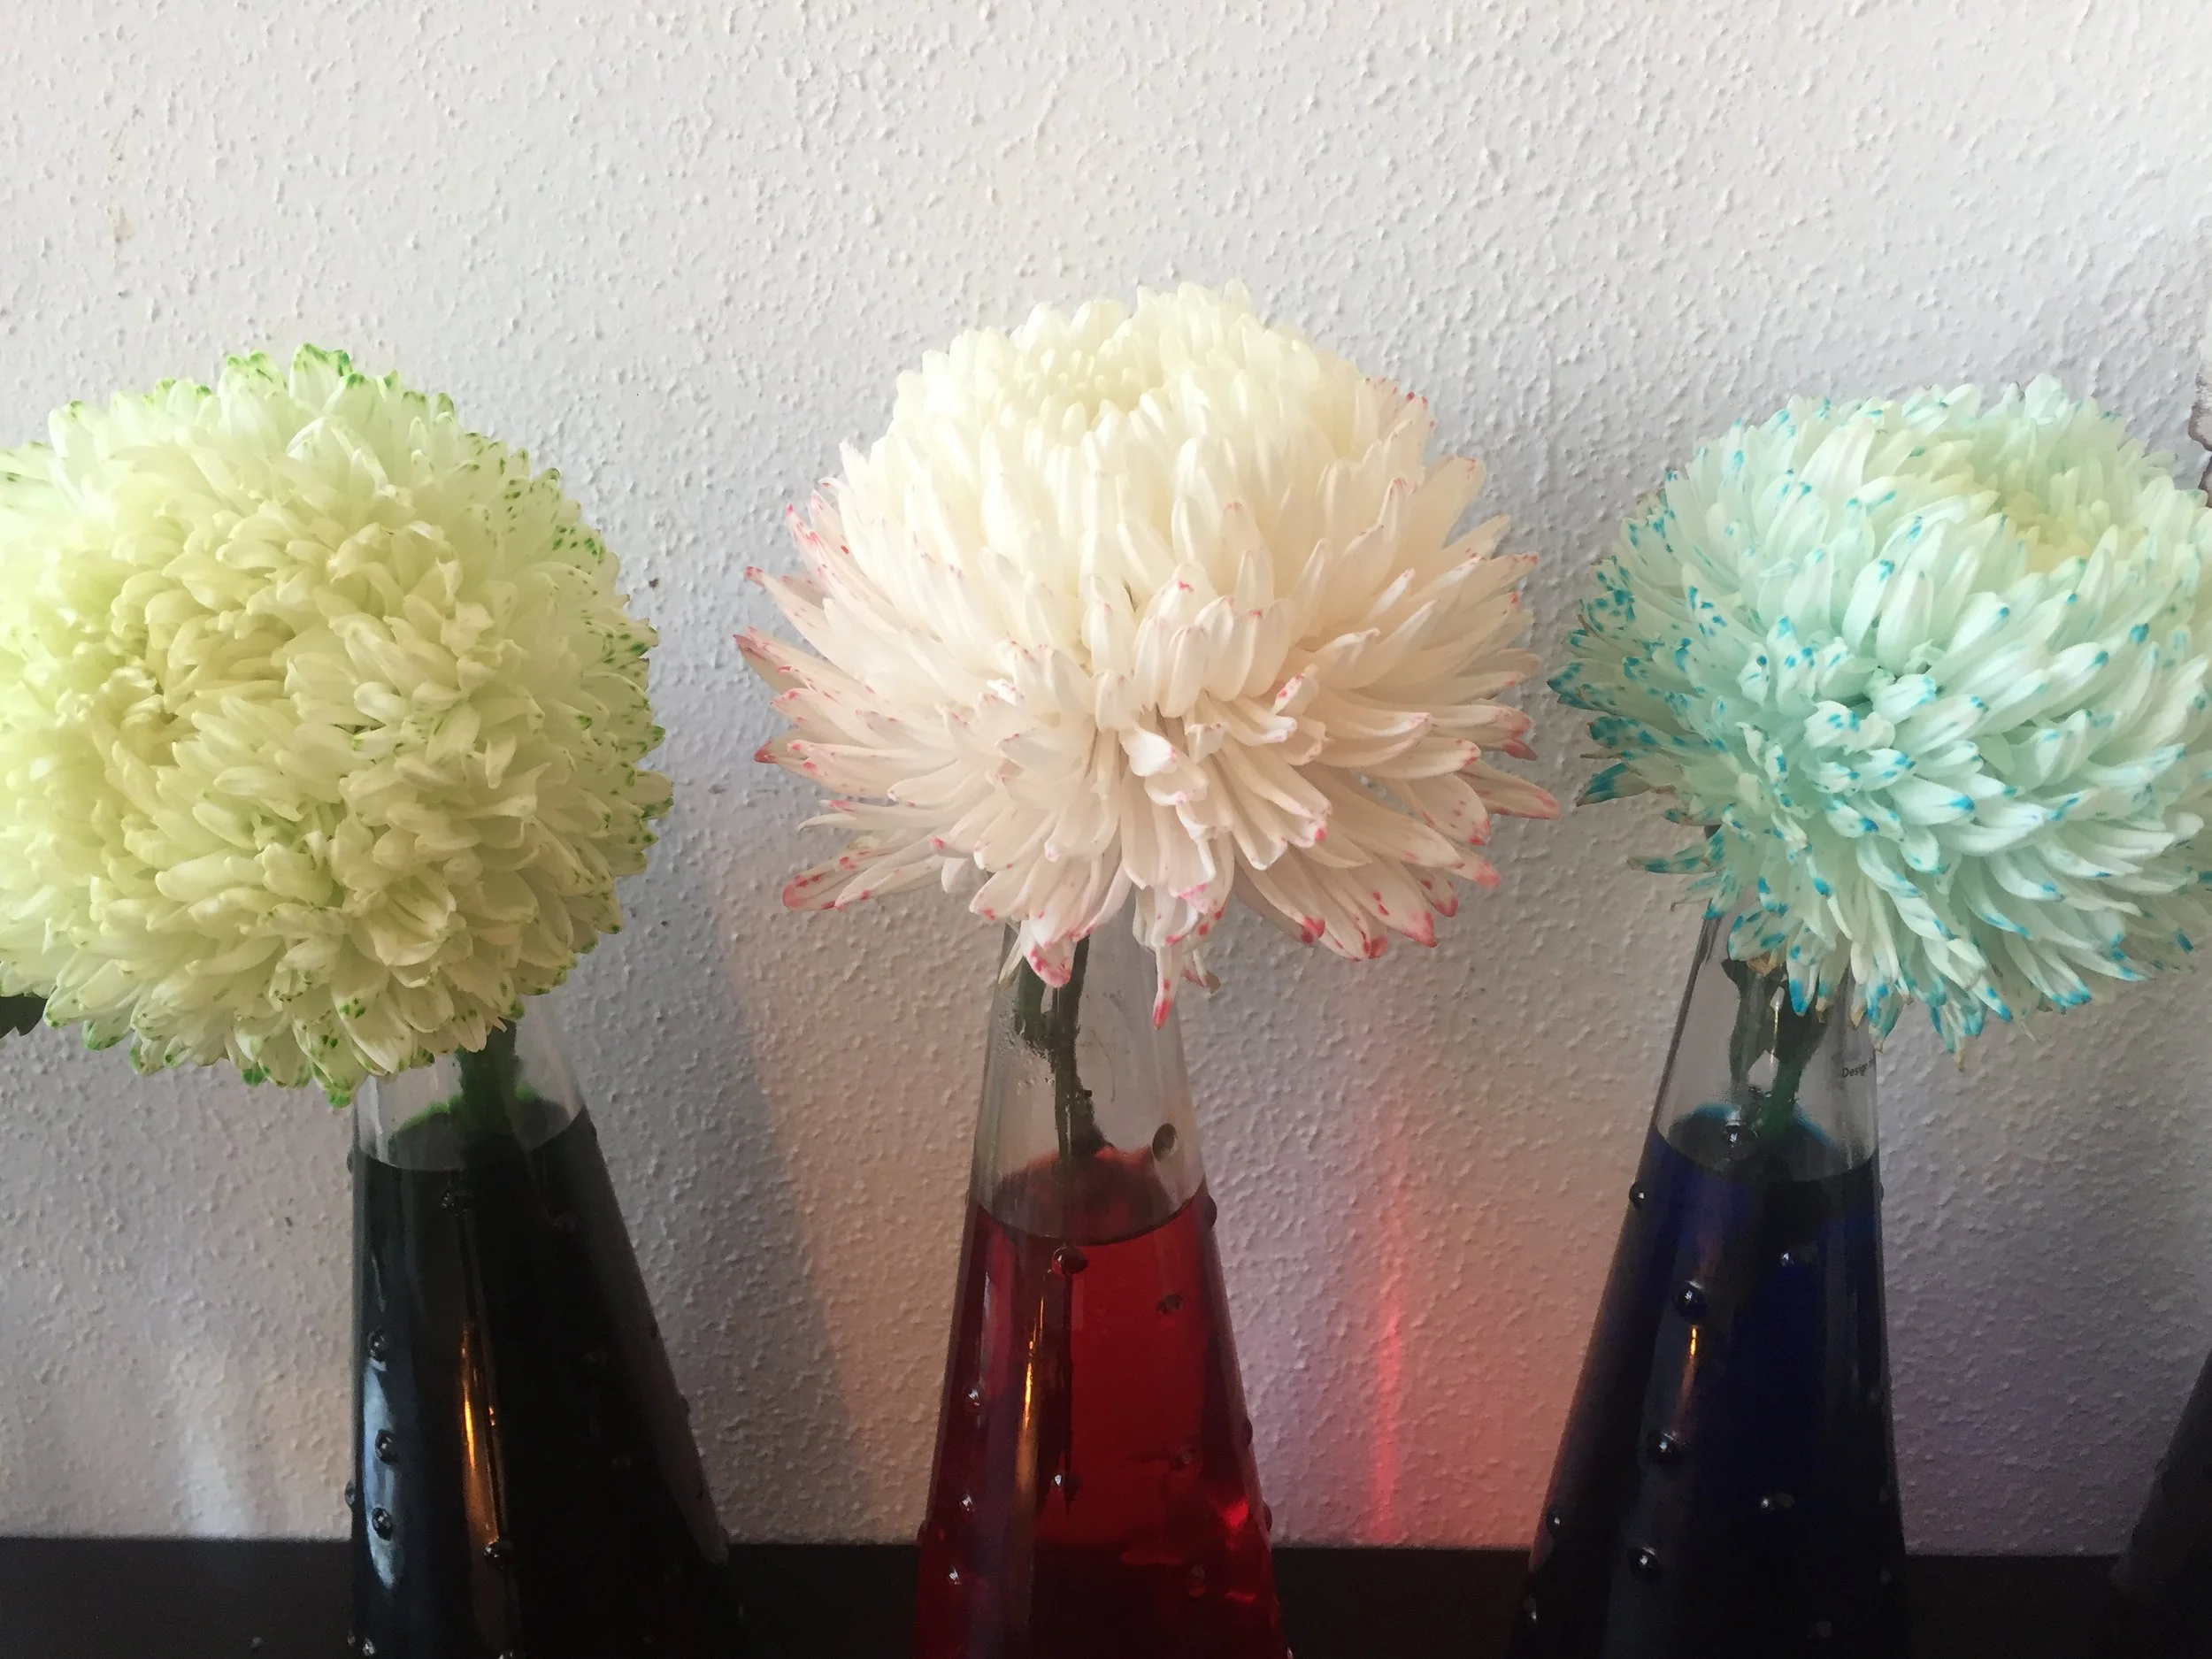
This photo was taken after 3 days
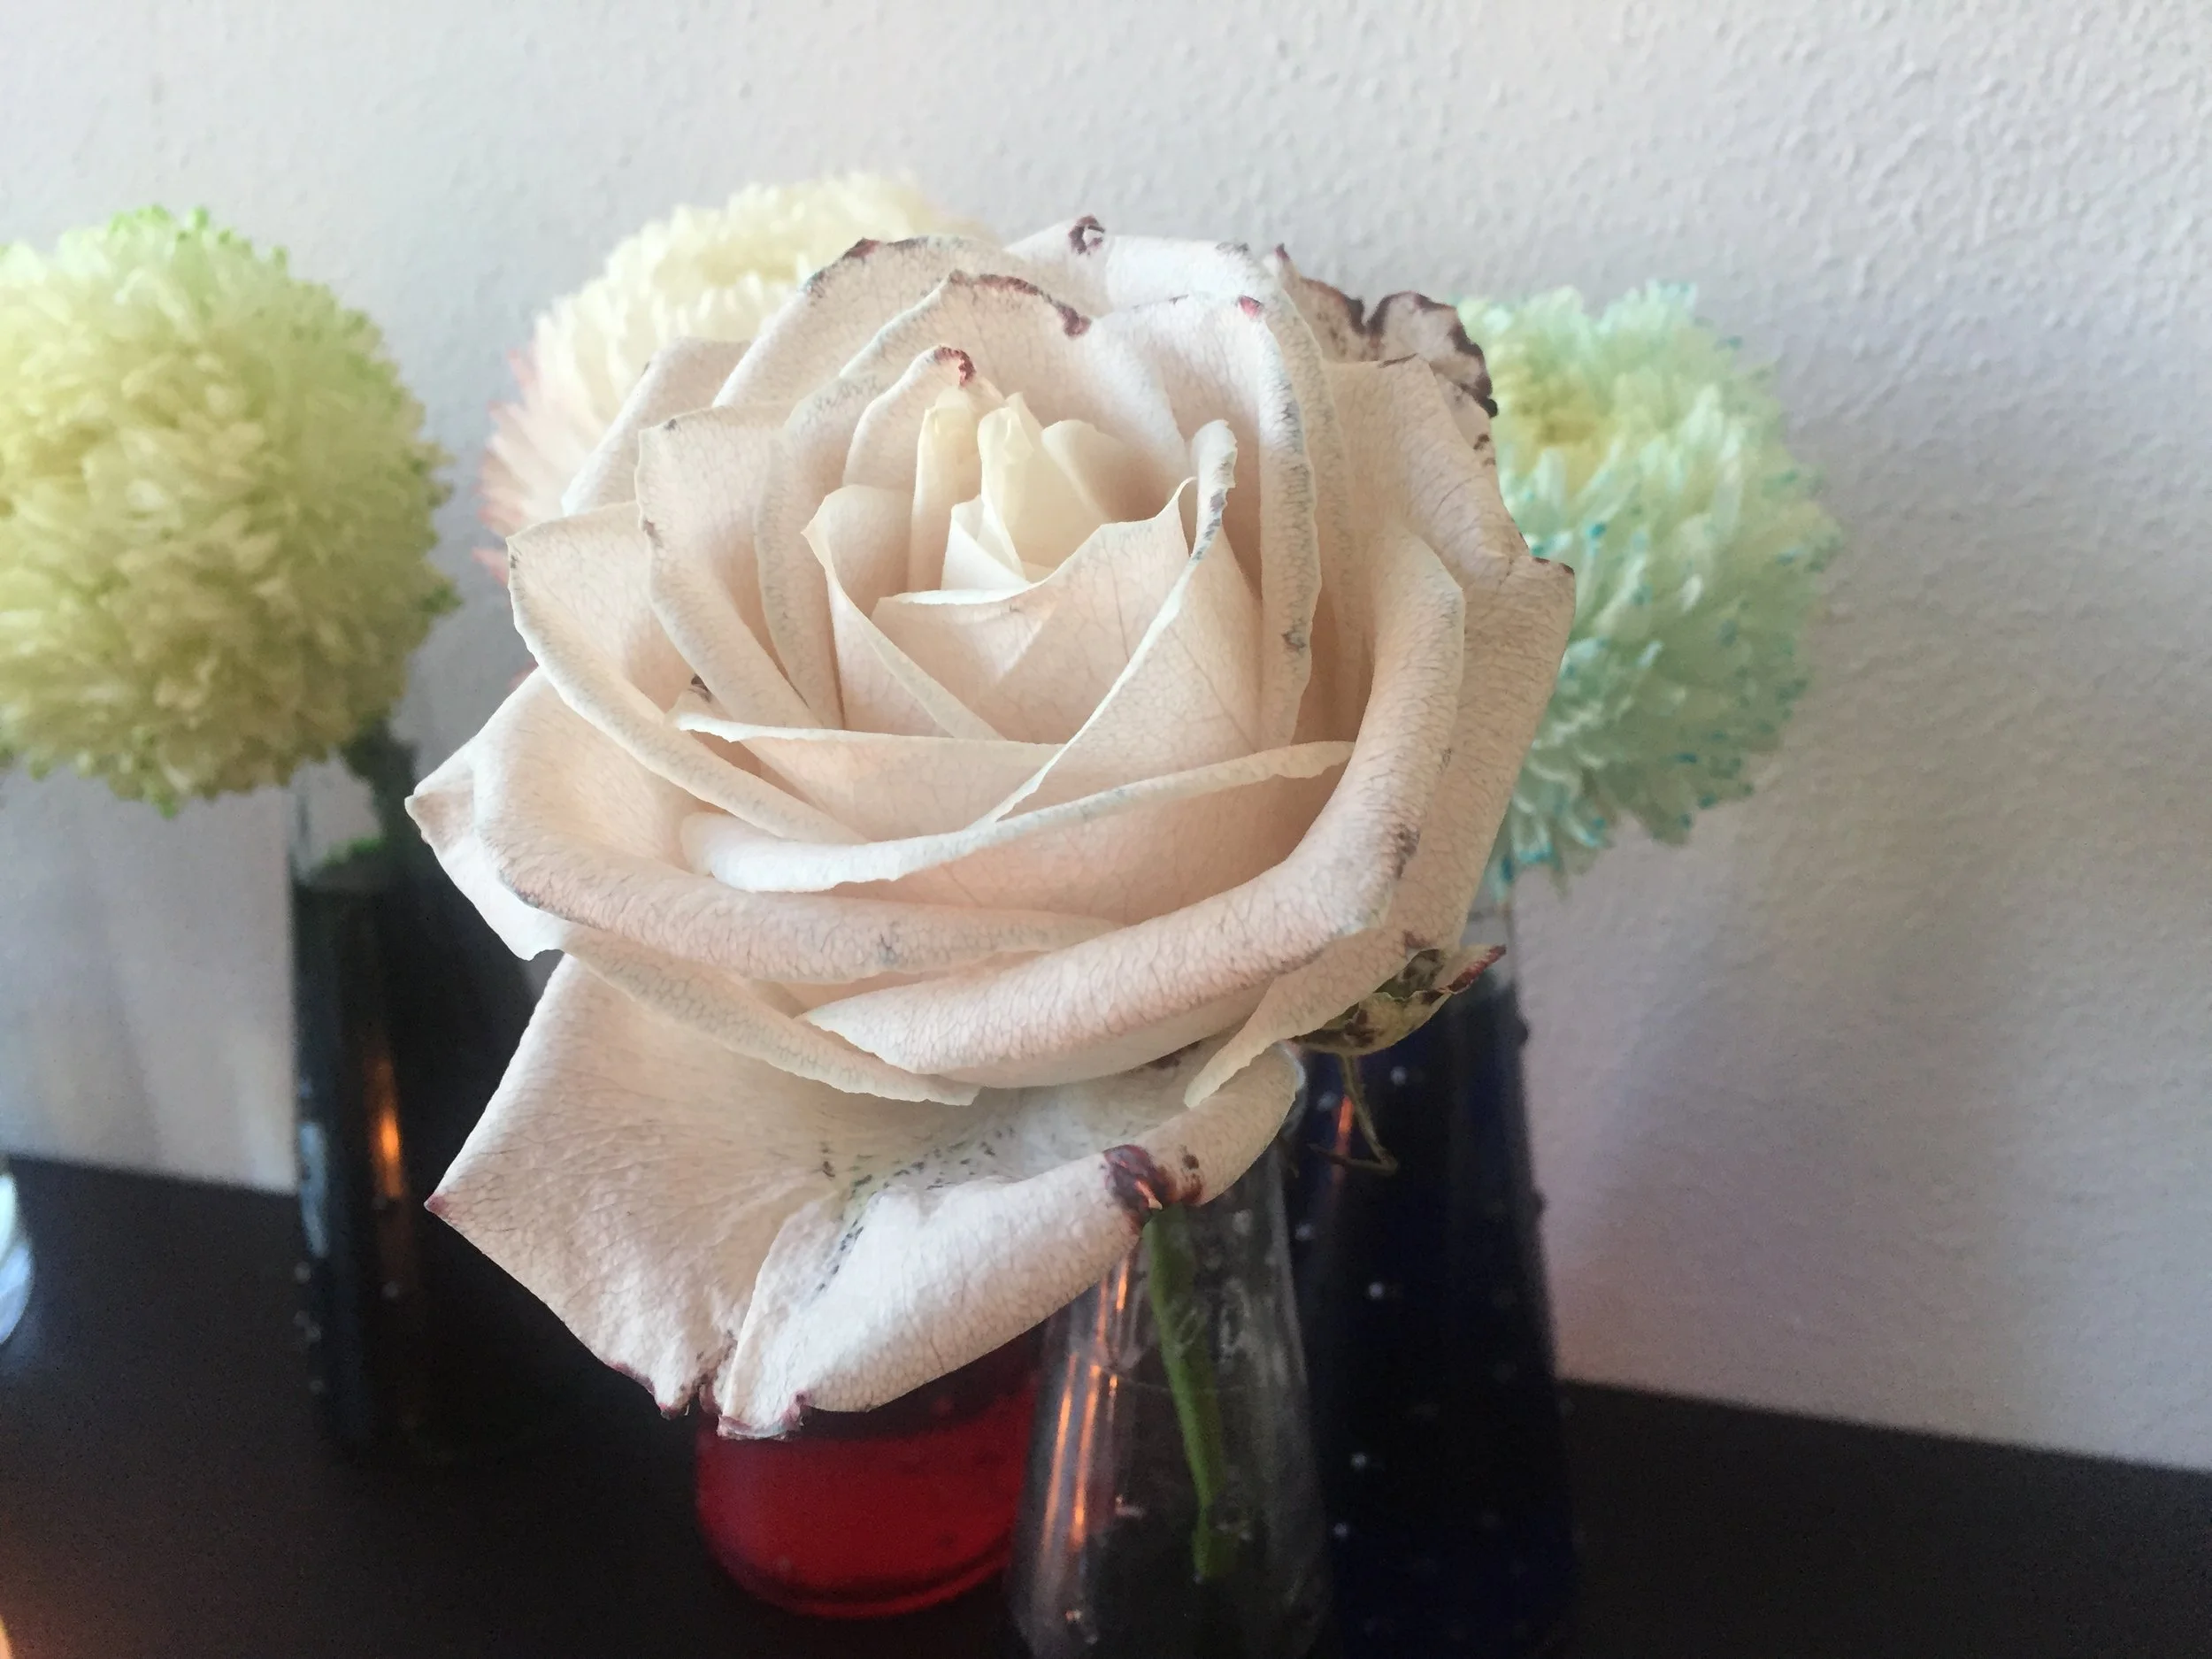
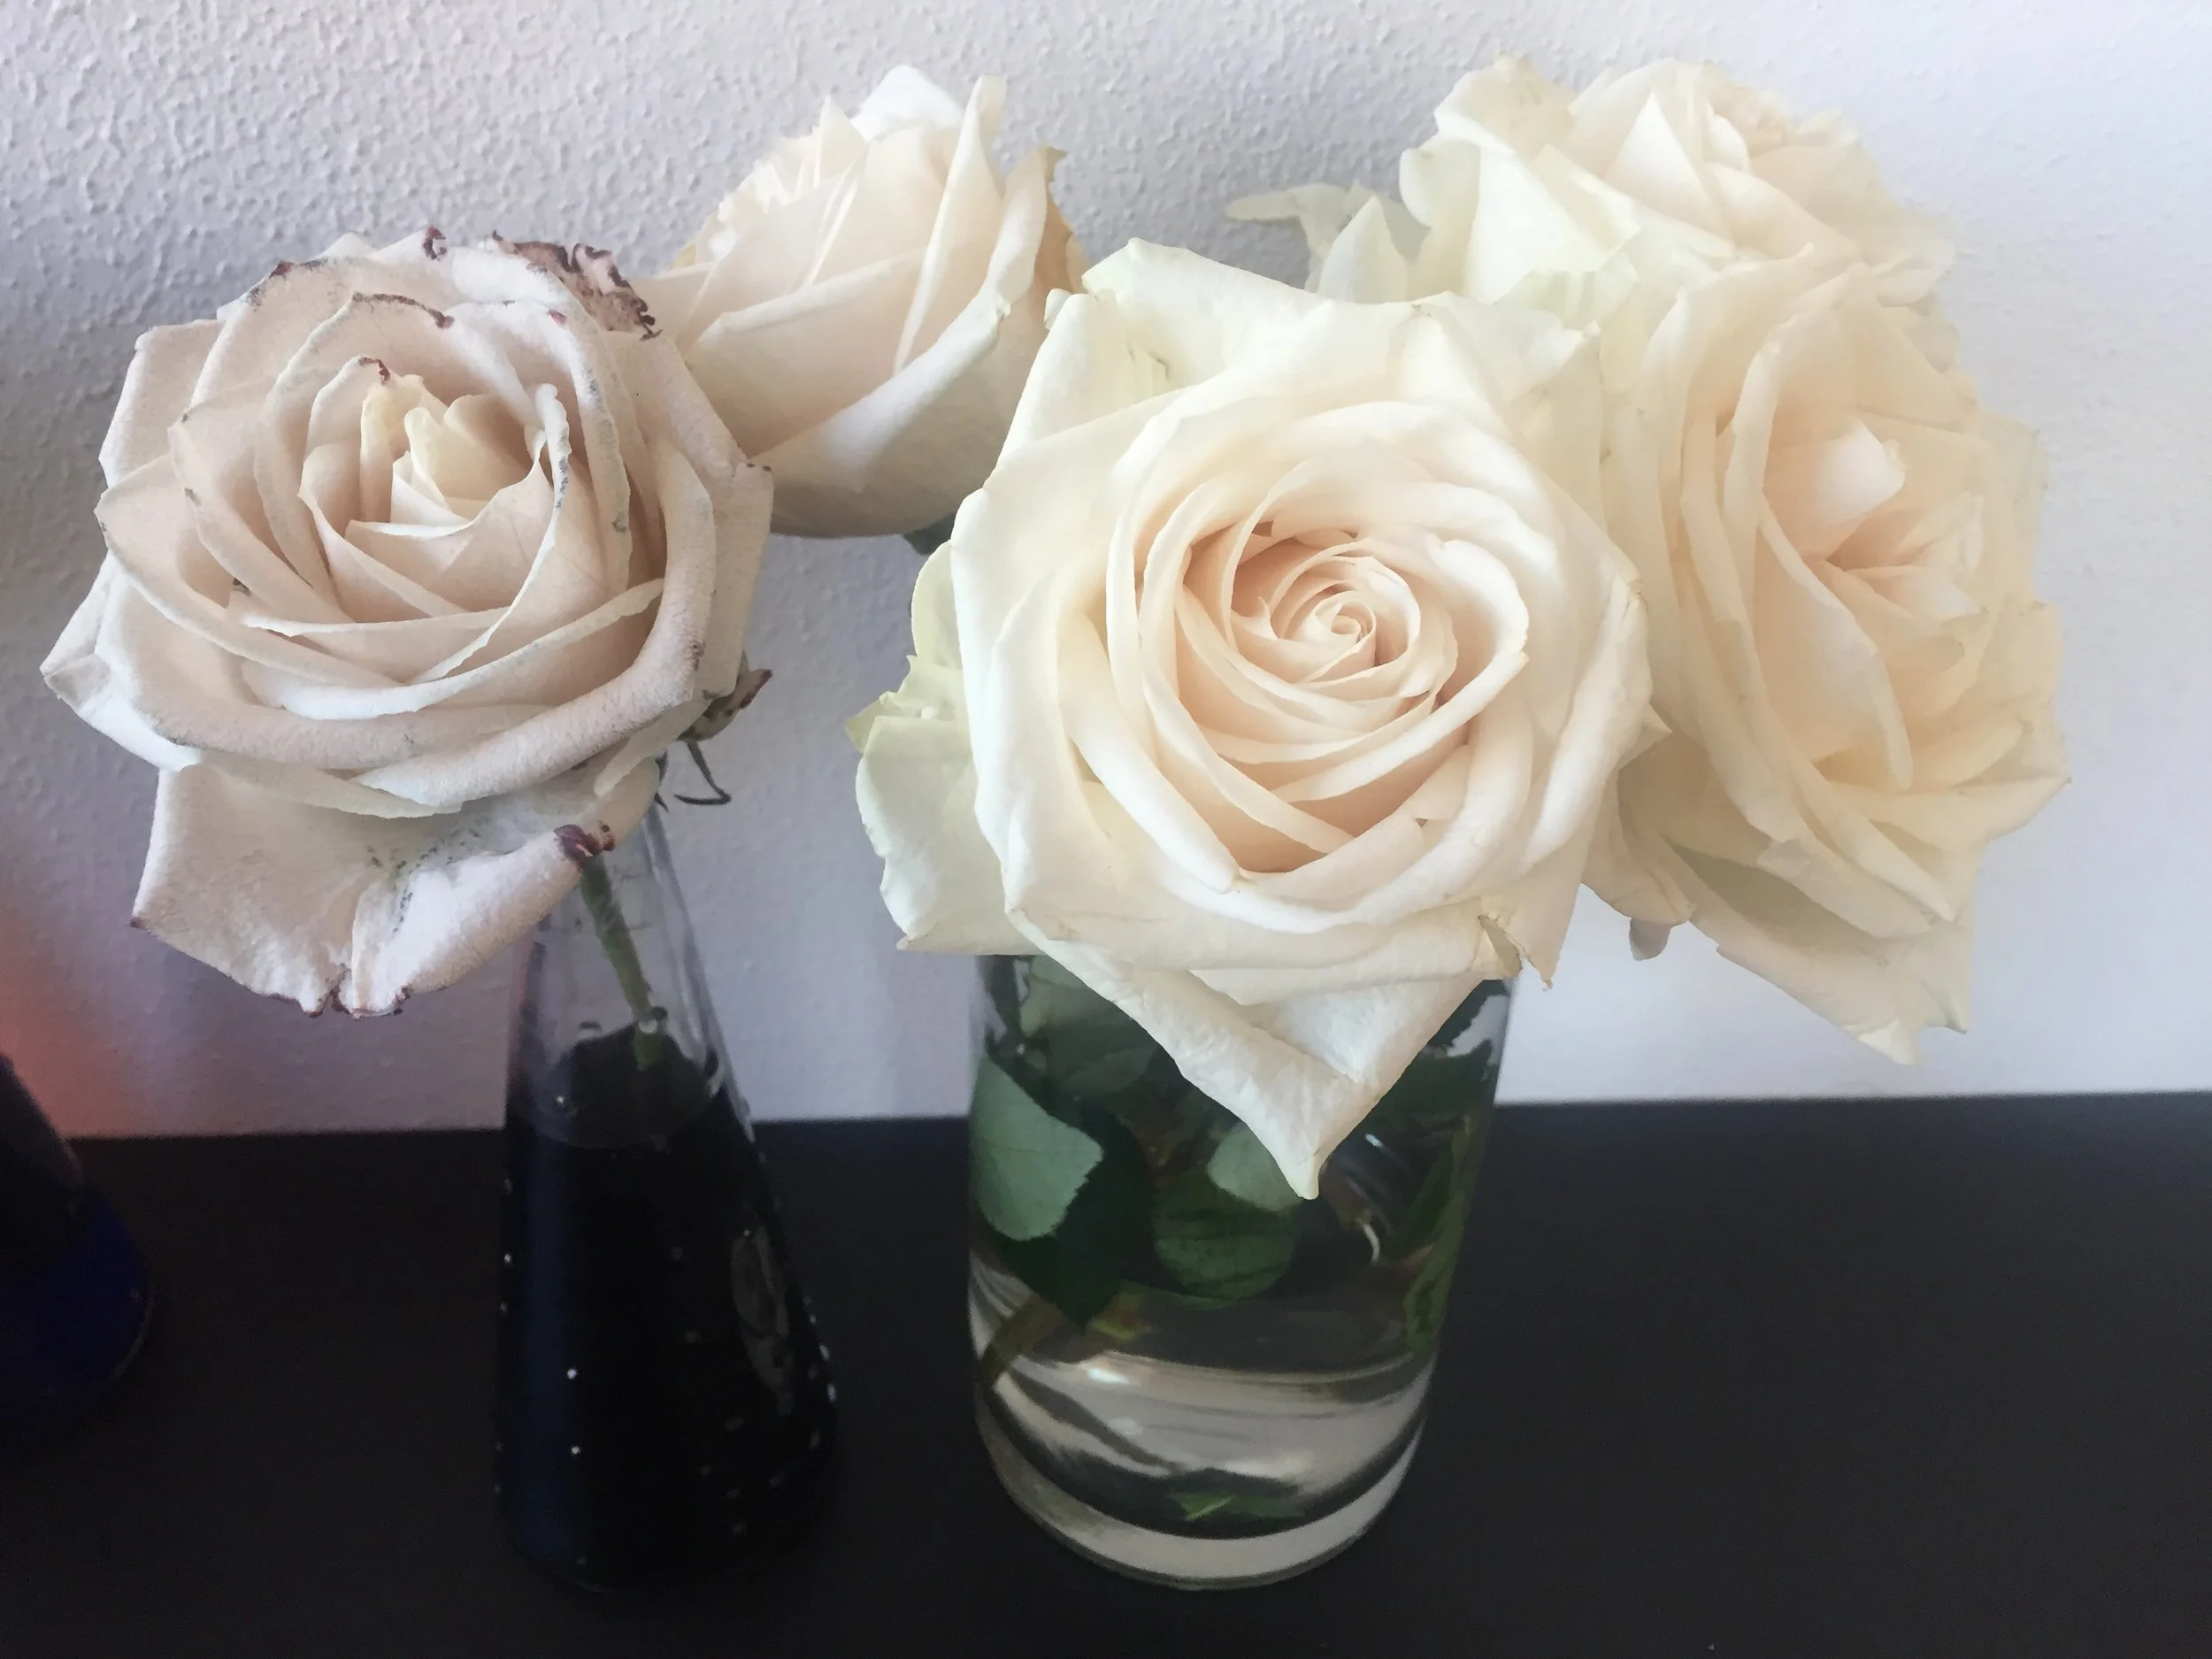
This rose was starting to turn purple!
EXTRA
What happens if you increase or decrease the concentration of food colour in the water?
How would you make a multicolour flower? Tip: You could try (1) leaving the flower for a day in one colour of water and then putting it in another colour of water for a second day or (2) splitting the end of the stem in two and immersing each half in a different colour of water.
Comparison of the colour change in the crysanthamums
Here is the rose next to its un-dyed friends!
How To Explain What is happening To Your minis:
Plants need to drink water. The stem of a plant acts like a drinking straw. The capillaries are millions of tiny straws, each one leading up to the leaves and petals of the plant. When the plant drinks the water, the coloured water travels up the stem and goes into the leaves and flowers. You can see it because the white flower doesn't have any colour to get in the way.
The water moves through a processes called transpiration, which is when the water from the leaves and and flower petal evaporates. The dye in the water doesn’t evaporate and is left in the petals of the flower.


